
A compact and clayey soil in the Paris region is not prepared like sandy soil from the Atlantic coast. Creating a durable lawn requires adapting each action to the actual terrain, not to a generic protocol. We have identified ten concrete steps, ranked by their impact on the success of the sowing, emphasizing amendment and organic soil as fundamental levers.
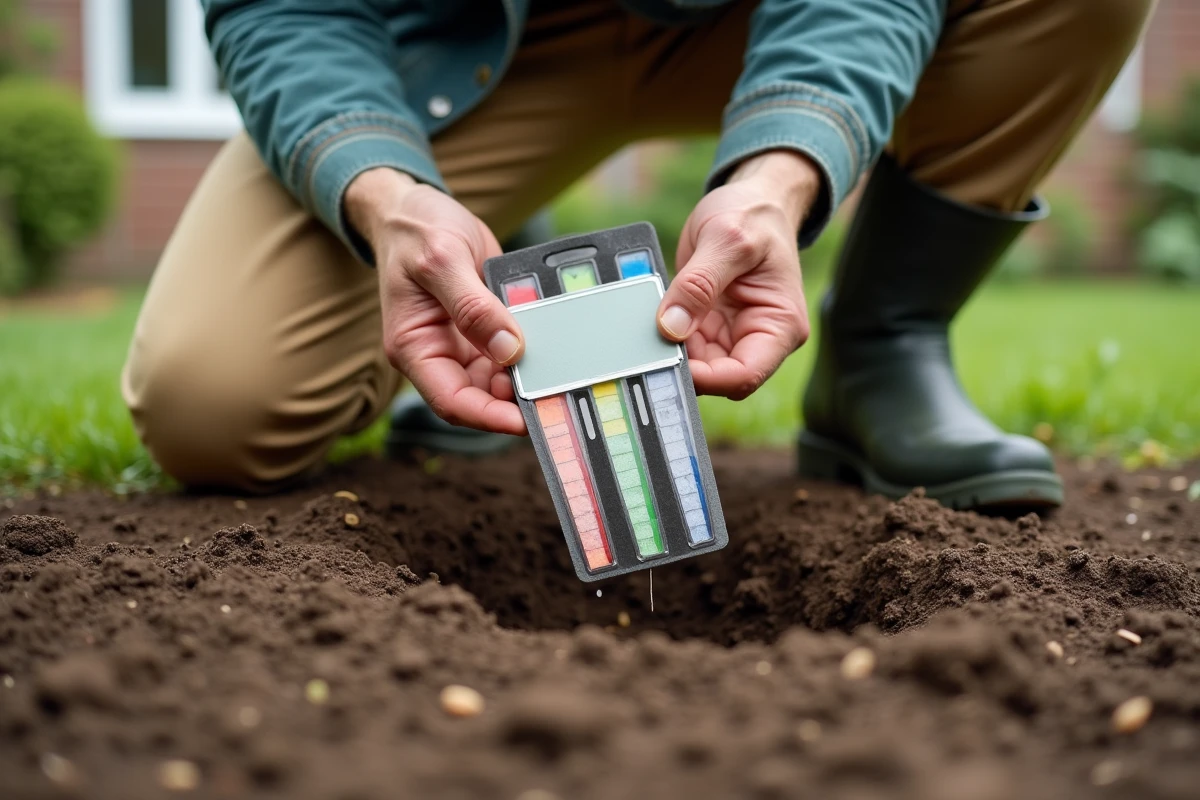
1. Analyze the soil texture and pH before any intervention
See also : Portage salarial: a flexible and innovative solution for independent workers
Before buying anything, take a handful of moist soil and roll it between your fingers. If it forms a smooth sausage, the soil is clayey. If it crumbles, it is predominantly sandy. This tactile test guides everything else: choice of amendment, amount of soil, need for drainage.
A pH kit from a garden center is enough to determine acidity. Most lawn grasses prefer a pH between slightly acidic and neutral. If the result deviates from this range, correct it with a lime amendment or an addition of acidic organic matter as needed.
You may also like : Investing in SCPI: A Guide to Understanding and Maximizing Your Returns
To find the key steps to successfully create a lawn with amendment and organic soil, you must start from this basis: without a soil diagnosis, you are working blindly.
2. Mechanically weed the entire plot
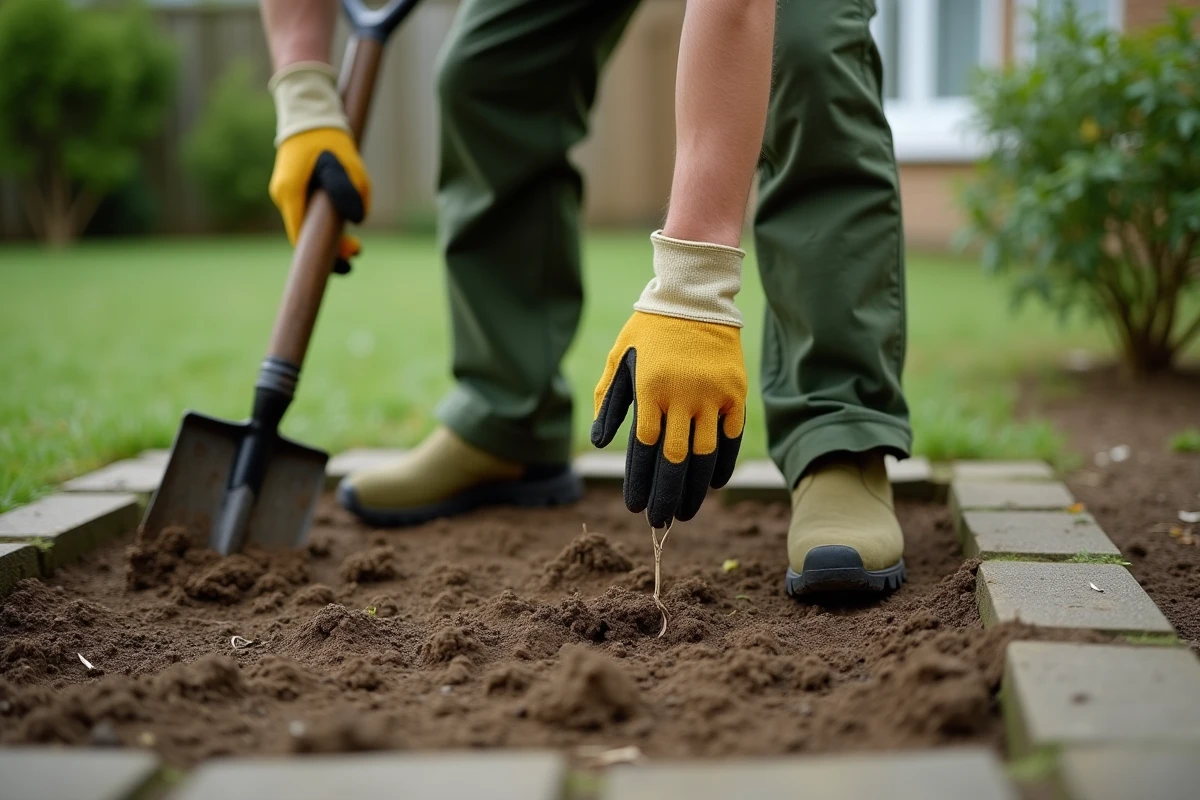
Weeds like dandelions or sorrel will regrow if you only cut them at the surface. Pull them out manually or use a weeding tool to extract the taproots. On a large area, using a tiller can help, but only if the ground does not contain invasive perennials that the tiller would fragment further.
Weeding before amendment prevents enriching the soil in favor of weeds. Then leave the plot bare for a few days to spot any potential regrowth.
3. Loosen the soil deeply with a broadfork
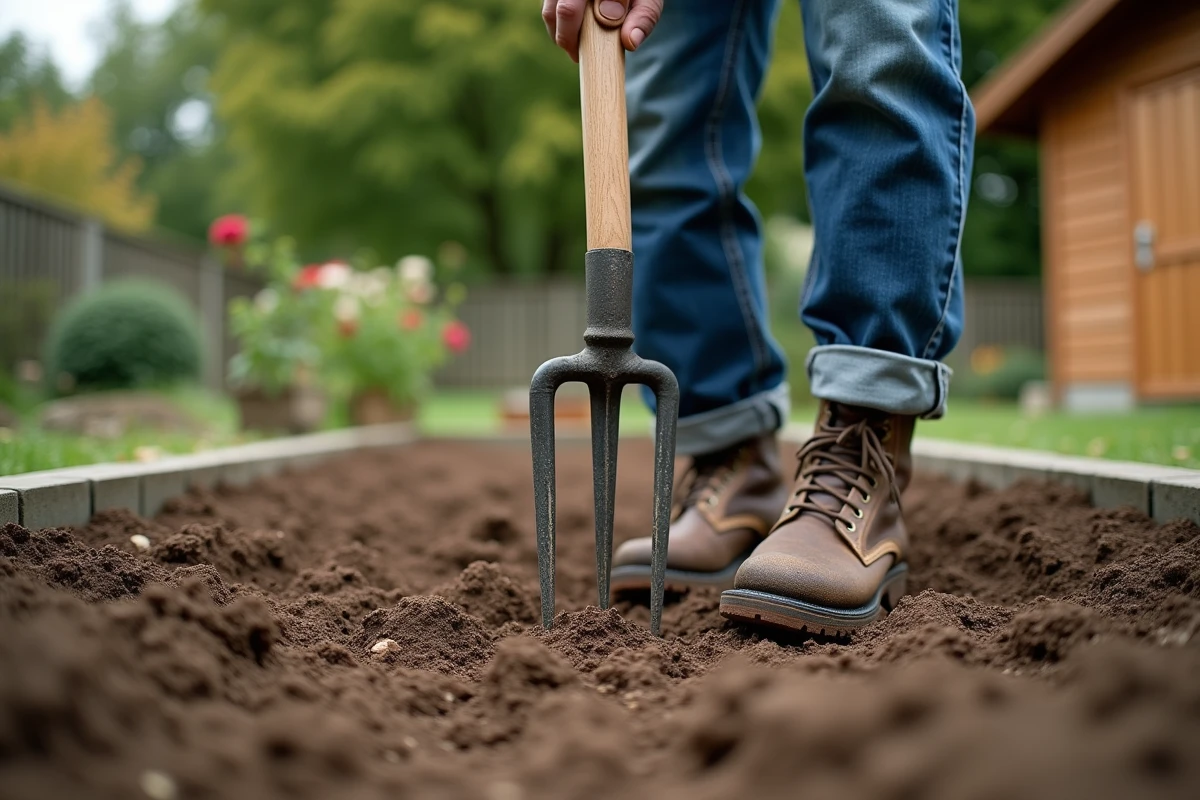
Compacted soil prevents roots from descending and water from infiltrating. The broadfork breaks up clumps deeply without turning the layers, preserving microbial life. Push the tines in all the way and tilt the handle towards you, row by row.
On very heavy soil (compact clay), this loosening is a prerequisite for drainage. Without it, even quality organic soil remains on the surface and forms a crust at the first watering.
4. Incorporate an organic amendment suitable for the soil type
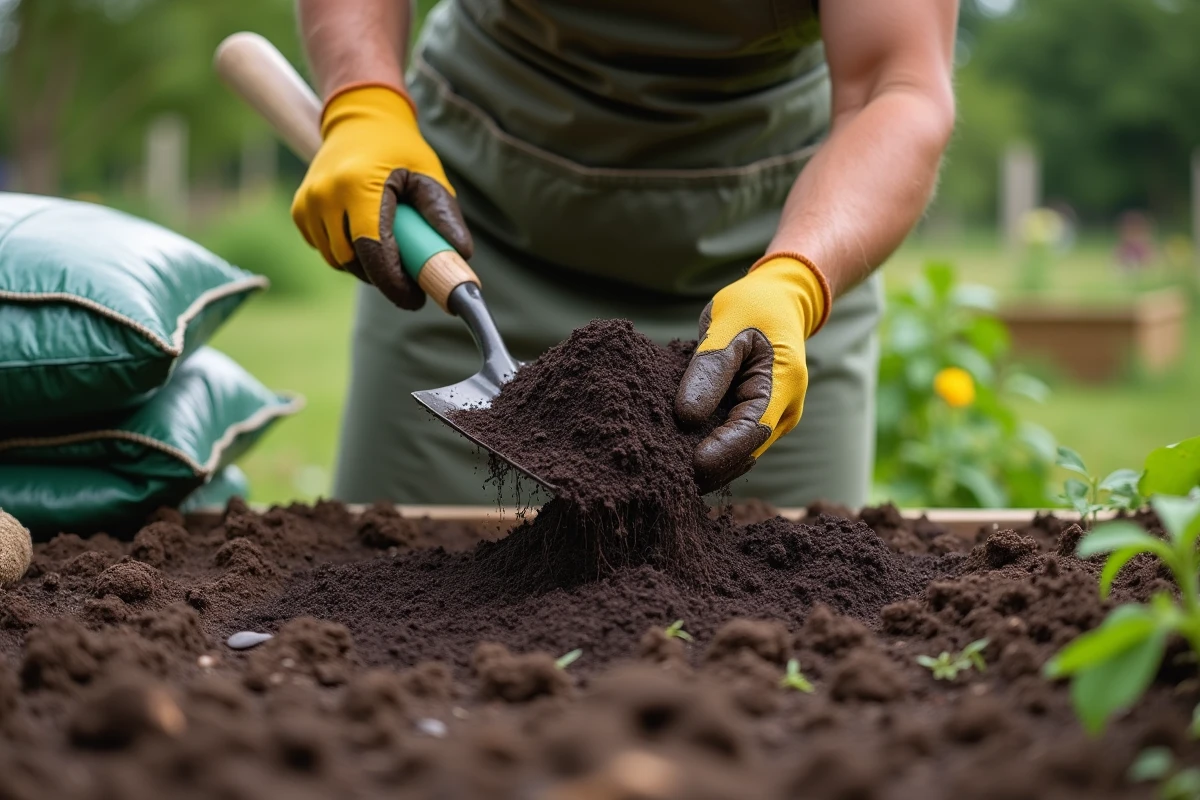
This is the pivot point. An organic amendment improves soil structure in the long term, unlike a fertilizer that provides temporary nourishment. On sandy soil, the amendment increases water retention capacity and humus content. On clayey soil, it aerates the structure and facilitates drainage.
Spread the amendment in an even layer, then incorporate it with the broadfork or rake into the top few centimeters. A resting period between this incorporation and sowing allows the organic matter to begin decomposing and avoids nitrogen competition with the young grasses. Opinions vary on the exact duration of this rest, but a few weeks of stabilization remains a reasonable precaution.
5. Spread organic soil as a finishing layer
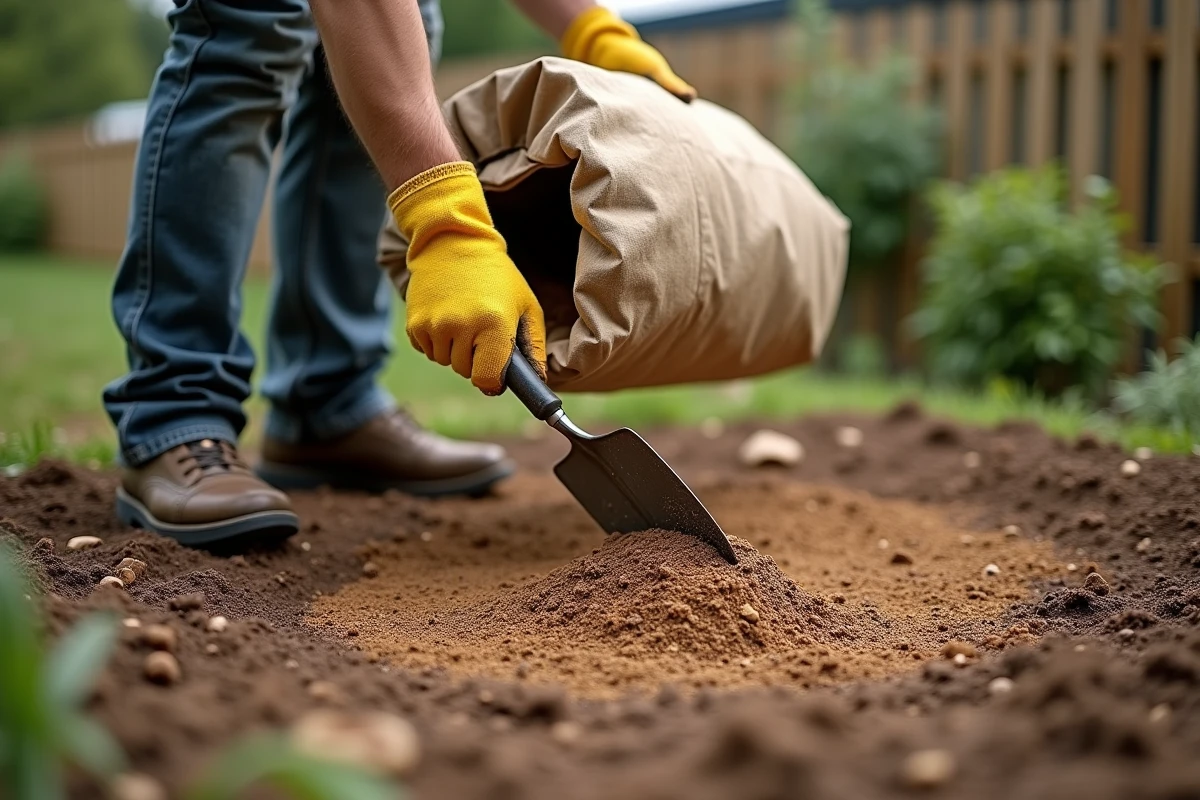
Organic soil serves as a germination bed. It is spread on the surface after the amendment, at a thickness of a few centimeters. It provides seeds with a fine, moist, and rich contact that promotes germination.
- On clayey soil, the soil corrects the tendency to surface compaction and prevents the formation of a crust after rain.
- On sandy soil, it retains moisture around the seeds during the critical first days.
- On calcareous soil, an acidic organic soil rebalances the pH at the surface without heavy chemical intervention.
6. Level and refine the surface with a rake
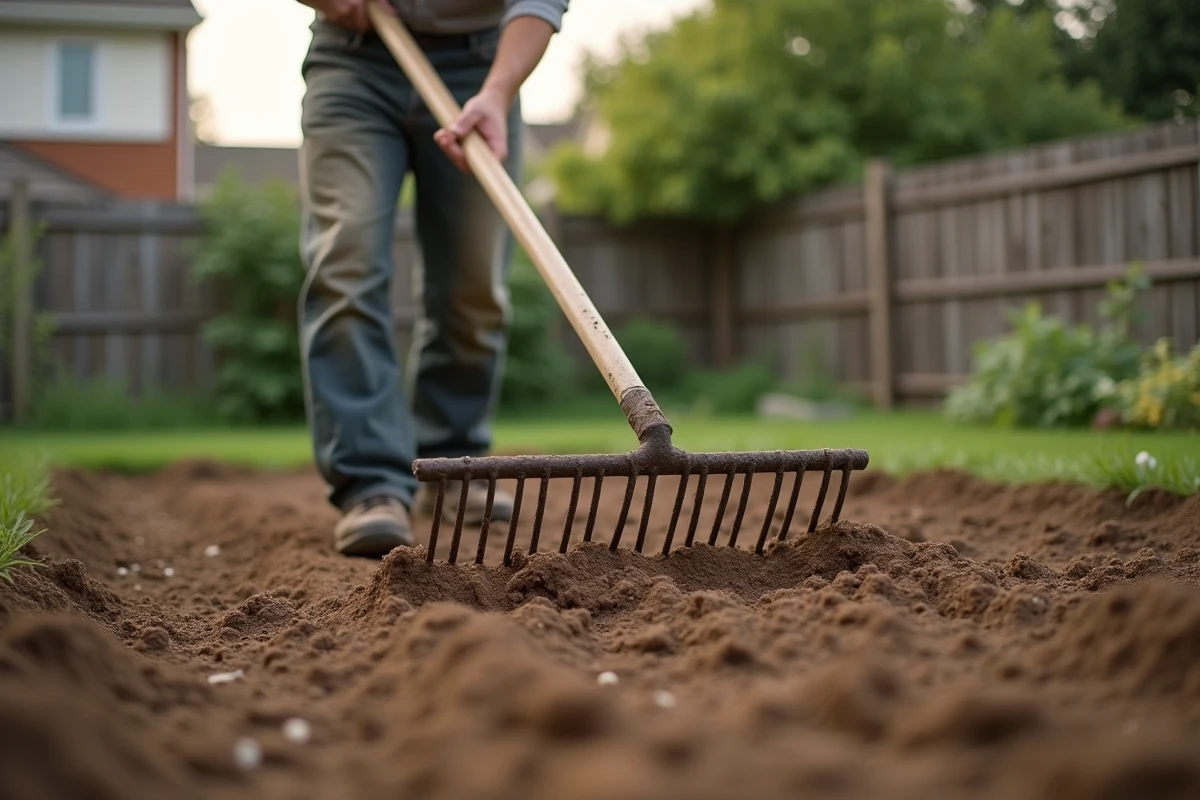
Rake in overlapping passes to break up the last clumps and create a flat surface. Every dip traps water, and every bump dries out faster: careful leveling conditions for uniform germination.
A fine-toothed rake is preferable to a standard garden rake. Also, remove any stones larger than one centimeter in diameter, which would hinder subsequent mowing.
7. Roll to firm the seedbed

The roller lightly compresses the surface without compacting it deeply. It creates an essential soil-seed contact for germination. Roll it empty (without water in the drum) on light soil, and add some weight on already loose soil to achieve sufficient support.
A well-rolled soil does not leave marks underfoot. If the footprint remains visible by more than one centimeter, it is too soft: roll again.
8. Sow the grasses by broadcasting in crossed passes

Divide the amount of seeds into two batches. The first is sown in parallel lines in one direction, the second perpendicularly. This technique avoids visible bare strips after germination.
Sowing in calm weather limits wind dispersion. Then cover the seeds with a thin layer of soil (one to two millimeters), and lightly roll again to press the seeds into the ground.
9. Water with a fine spray without displacing the seeds
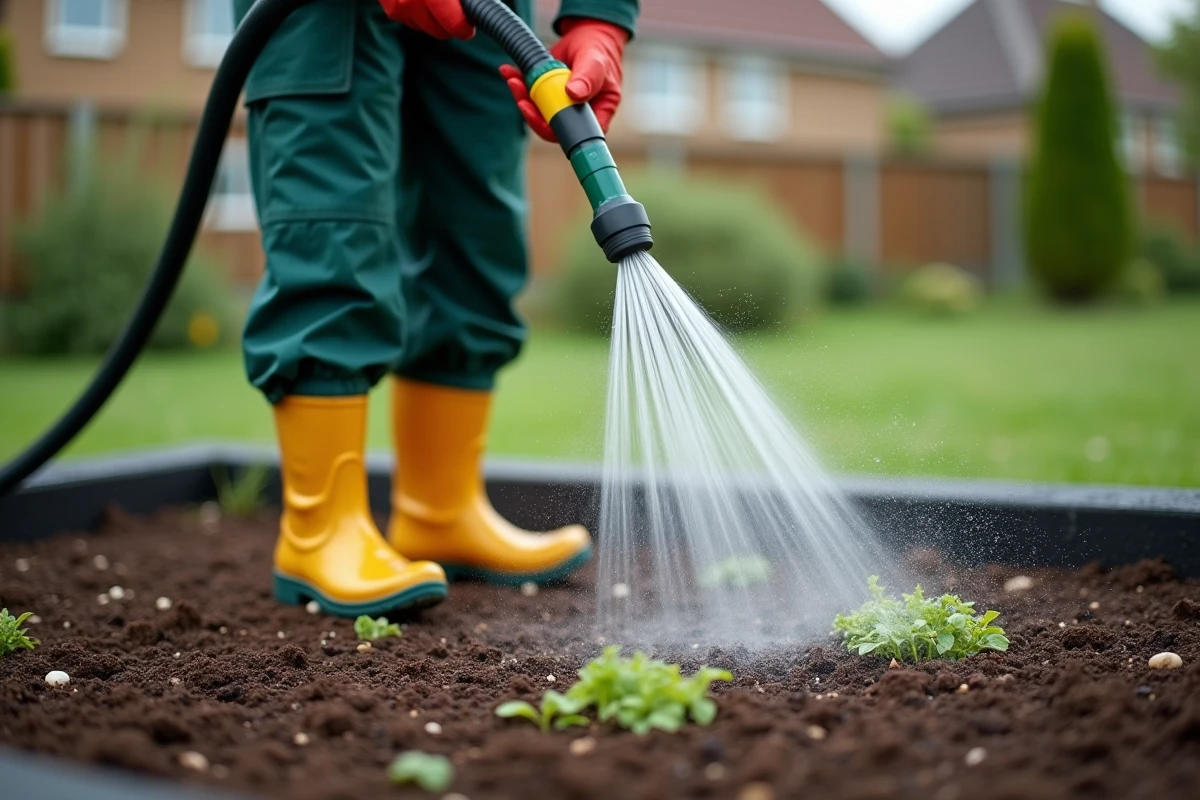
A too powerful jet digs trenches and washes away the seeds. Water with a fine spray, preferably early in the morning or late in the day to limit evaporation. The soil should remain moist on the surface without being waterlogged.
During the germination phase, maintain this constant moisture. As soon as the shoots reach a few centimeters, space out the waterings to force the roots to go down to seek water deeply.
10. Perform the first mowing at the right growth stage

Wait until the shoots are tall enough before mowing, adjusting the blade to a high position. Cutting too short at this stage pulls out the young plants whose rooting is still fragile.
After this first mowing, you can consider a starter fertilizer suitable for young lawns. Regular maintenance (mowing, watering, seasonal fertilization) takes over to densify the lawn in the following months. The organic soil and the amendment integrated at the start continue to nourish the soil life long after the grasses have emerged.